
Thread Repair with Self-tapping Inserts
Sep 17, 2026
Repairing threads
In cases where the hole diameter has been enlarged substantially, such that thread repair with helical inserts is no longer possible, we will need to use inserts that are thicker but can bring a hole to its original size.
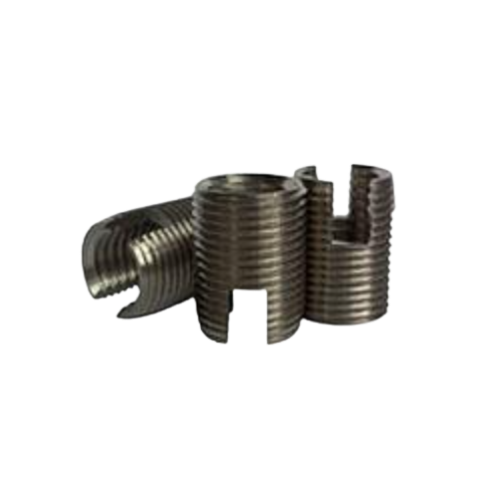
These are known as threaded inserts, and are commonly thick enough to have both internal and external threads. They resemble solid bushings but with the ability to lodge themselves into holes that may or may not be threaded before installation. There are many types of threaded inserts, and their designs differ depending on the application. In this section, we will look at self-tapping inserts.
Self-tapping Insert
Self-tapping inserts are characterized their resemblance to bushings but with internal and external threads and cutting slots. Being extremely strong, these inserts are used to create wear-free, vibration-resistant screw joints with high loading capacity in materials with low shearing strength. They are suitable for installation in the following materials: Light Alloys, Cast Iron, Brass, Bronze, NF metals, Plastics, Laminates and Hardwoods.
Self-tapping Insert Installation
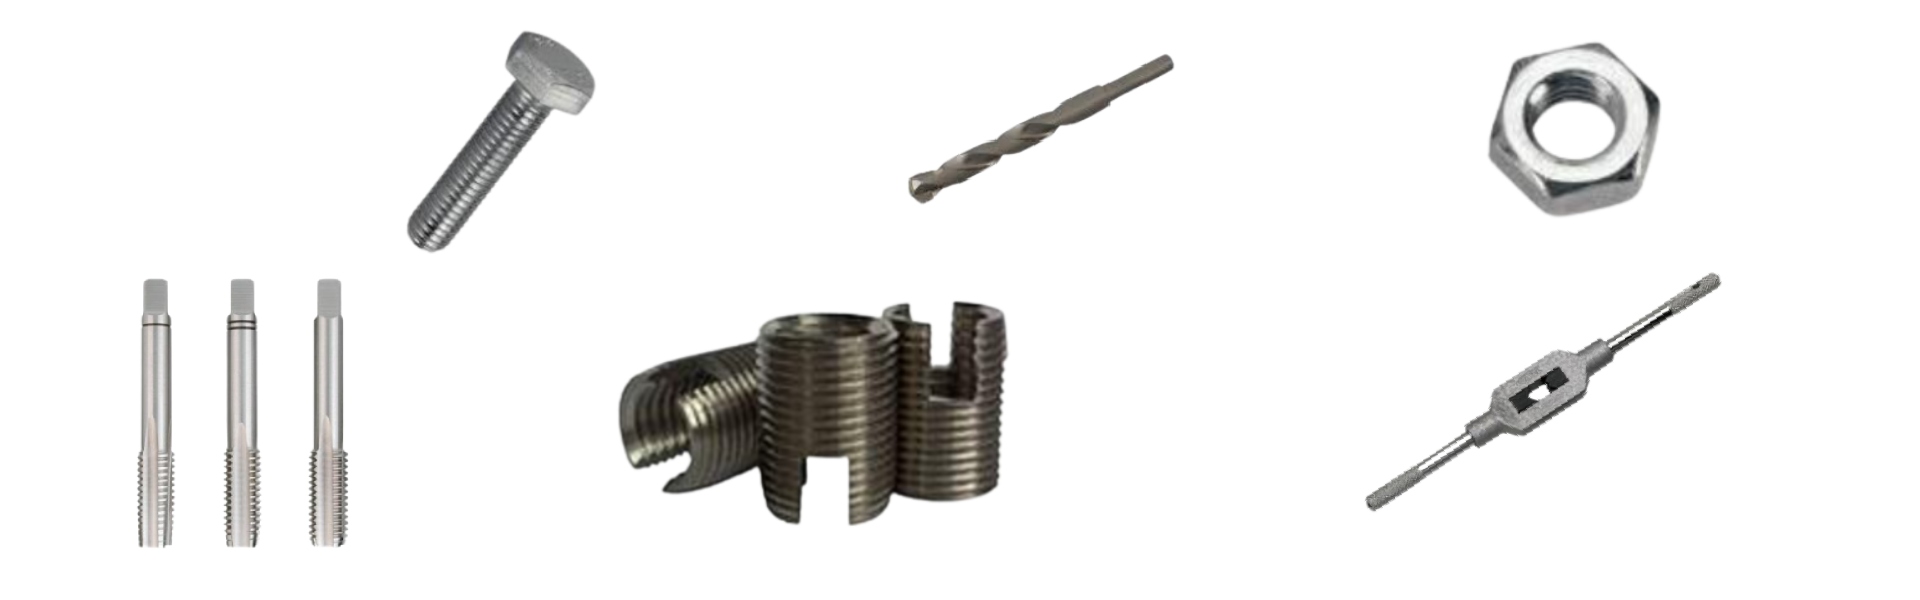
To use self-tapping inserts, it is only necessary to drill the hole to the correct diameter. Depending on the parent material, the drill sizes are different. Using self-tapping inserts does not require any special tools. All we need is a drill for hole preparation and a tap wrench, screw and nut for installation*.
 |
 |
 |
 |
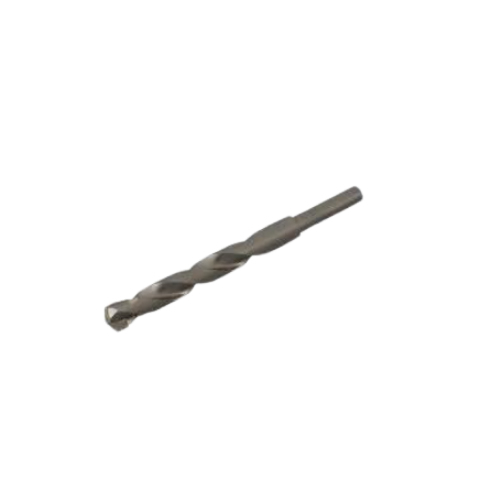
| 1. Drill Bit
A drill bit with the correct dimension should be used for. |
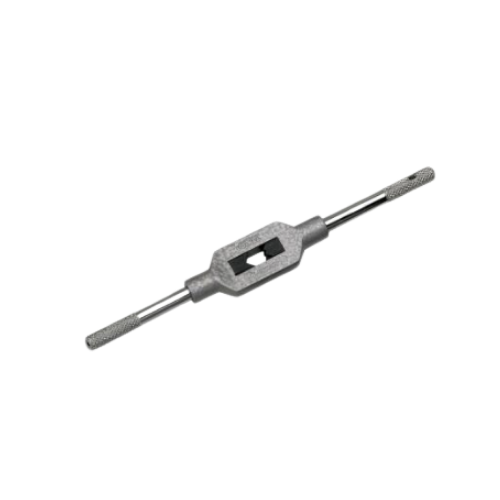
2. Tap Wrench
A tap wrench enables the insert to be turned in comfortably. |
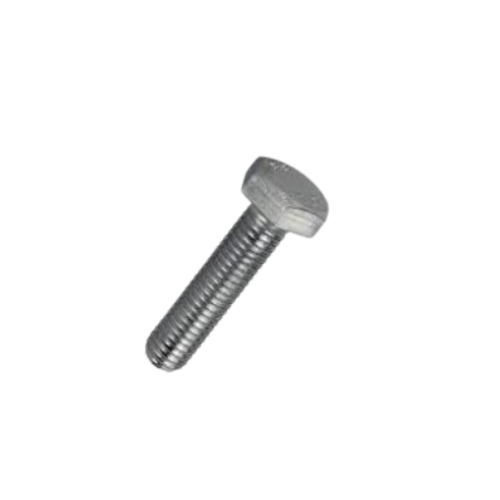
3. Hexagon Bolt
It is recommended to use a hexagon bolt as the head fits in nicely with a tap wrench. |
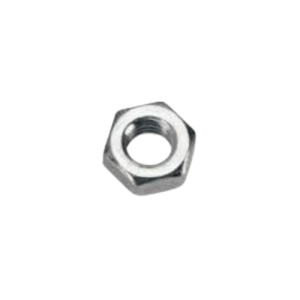
4. Hexagon Nut
A hexagon nut secures the Self-tapping Insert into place before turning into the work piece. |
*It is optional to tap the external threads using standard taps. This can facilitate installation.
Self-tapping Insert Repair Process
The process of self-tapping thread installation involves 4 major steps. They are listed chronologically below.
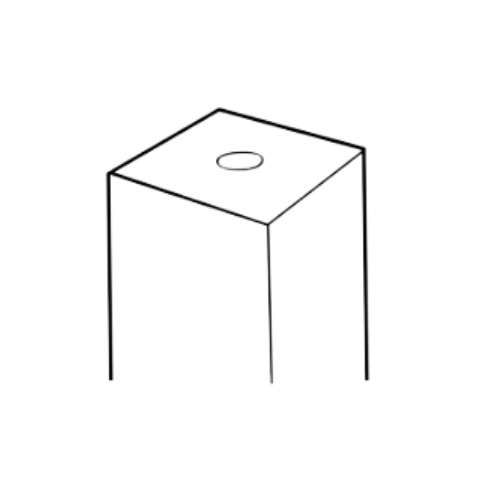 |
Assessing the hole
Check and assess the parent material and hole to be repaired.
|
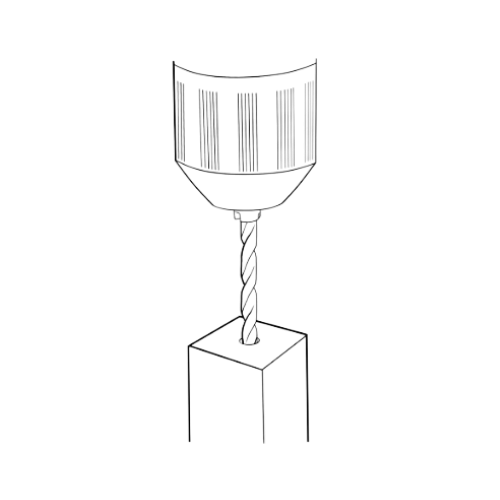 |
Drill
Using a power drill or drill-press machine, drill the hole to the correct diameter. Important: Depending on the parent material, the drill size will differ for an insert. |
 |
Preparation
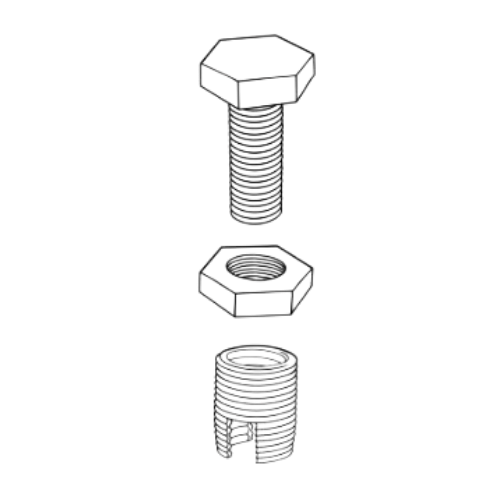
Secure the self-tapping insert to the bolt and nut, in the order shown on the left. The hexagon bolt should be on top, followed by the hexagon nut, with the insert at the bottom. The cutting slots on the insert should be facing downwards. |
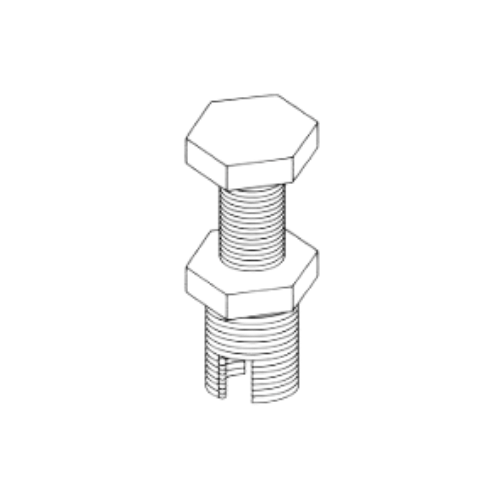 |
Jam the Insert
Lock the insert securely into place by turning the nut clockwise and the insert anti-clockwise. In this way, the nut and Insert will be fastened towards each other. |
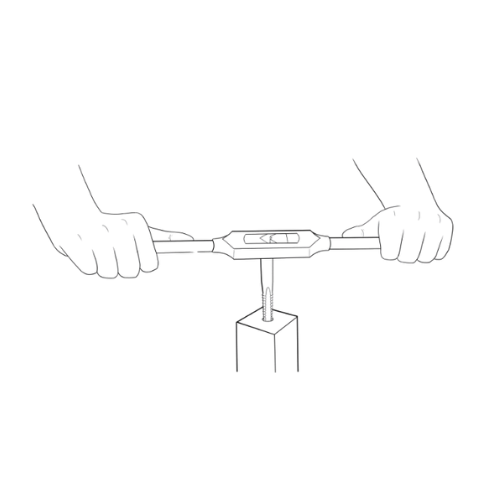 |
Installation
Using a tap wrench to hold the hexagon bolt, turn the insert into the hole in a clockwise direction. Once the insert fully enters the work piece (you can confirm this when the hexagon nut touches the work piece), you can remove the hexagon bolt fully by turning anti-clockwise. The installation is complete. |
Troubleshooting
In the course of using self-tapping inserts, there are some important points we need to take note of to ensure smooth installation. Below, we list some common mistakes that occur and the steps to take in order to prevent them.
- While installing, the insert is not able to enter the threaded hole.
Corrective action: Make sure that the hole is drilled to the correct diameter*. When installing, make sure the insert is held in place by the collar and sits vertically on the hole before turning in.
For screw-lock inserts, it is important to use prewinder-type tools, as the hexagon coil needs to be compressed before it can enter the tapped hole.
*Interchangeability is important. Make sure the brand of inserts used corresponds to the tap. Generic taps made by tap manufacturers who do not produce helical inserts may not match.
- After installation, my work piece breaks.
Corrective action: Check that there is sufficient space allowance between the hole and the edge of the work piece. A self-tapping insert needs enough space to sit in. Also, check on the brittleness of the parent material.
Frequently Asked Questions (FAQ)
- When should I use self-tapping inserts?
Answer: When the damaged hole has been too enlarged, and usage of helical inserts is no longer possible.


10 Ubi Crescent #01-80 Lobby E, 408564, Singapore

(65) 6743 4155

(65) 6743 4155

sales@thorintl.com

Mon - Fri: 9am - 5pm
Sat - Sun: Closed


MRT
Take the appropriate MRT line to the nearest station, then continue your journey by bus, walking, or a taxi/ride-hailing service.


Bus
Check the bus services near the company’s location, board the relevant bus, alight at the nearest stop, and walk a short distance to the office.