

Thread Repair with HeliCoil Inserts – Twinserts
Sep 18, 2026
Repairing threads
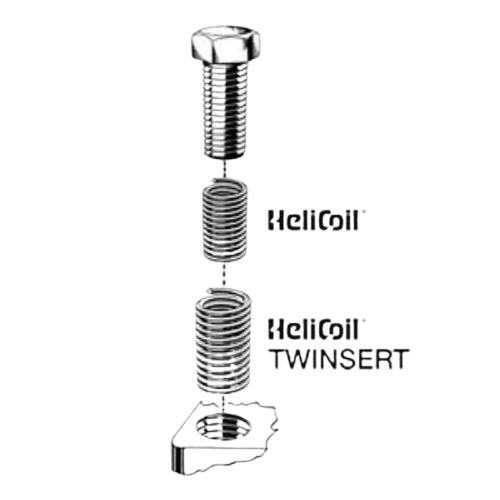
Normally, if the hole diameter has been enlarged and is beyond repair using only an Oversize or standard HeliCoil insert, we can repair using a pair of inserts, otherwise known as Twinserts. Twinserts are also used to correct HeliCoil tapped holes that are stripped, off-center and damaged.
Section A: Introduction to Twinserts
Twinserts look similar to standard HeliCoil inserts, but differ in OD dimensions and lengths. Twinserts must be used as an assembly, such that it contains two HeliCoil inserts: an Outer Insert, always Free Running, and an Inner Insert, which can either be Free Running or Screw Lock.
HeliCoil Twinserts are only available in two lengths: 1.5D and 2D.
Section B: Twinsert Installation
Twinserts follow the same installation principles and process of standard HeliCoil inserts. The difference is that certain tools used must be changed:
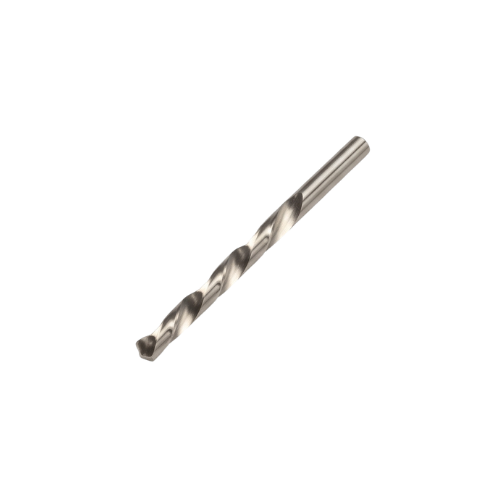
Drill bit – different from standard HeliCoil size
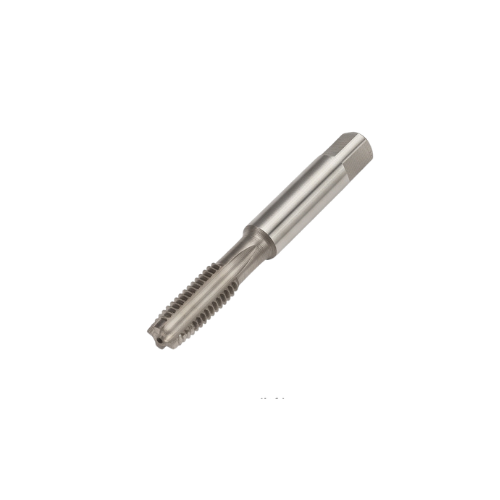
Tap – different from standard HeliCoil size. A Twinsert Tap must be used.
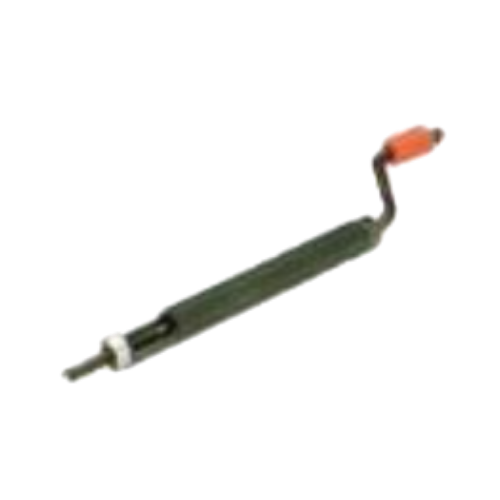
Installation Tool (Outer Insert) – different from standard HeliCoil size. A Twinsert Installation tool must be used.
Installation Tool (Inner Insert) – same as standard HeliCoil size.
Tang Break-off Tool (Outer Insert) – different from standard HeliCoil size. A Twinsert Tang Break-off tool must be used.
Tang Break-off Tool (Inner Insert) – same as standard HeliCoil size.
Section C: HeliCoil Twinsert Repair Tools
To use HeliCoil Twinserts, hole preparation is necessary. It is important to remember that the some of tooling for Twinserts are different from standard HeliCoil inserts, notably, the drill bit and tap. Prepare them before you begin the Twinsert repair process.
 |
 |
 |
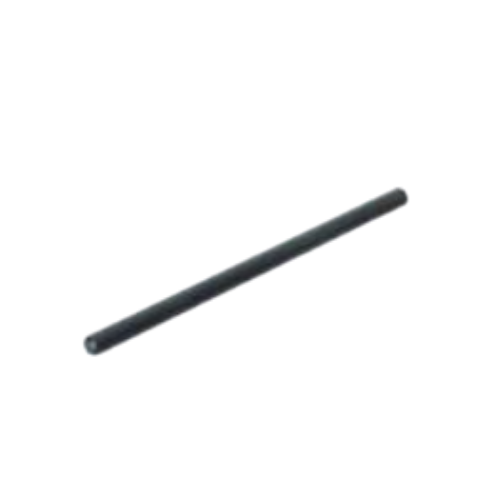 |
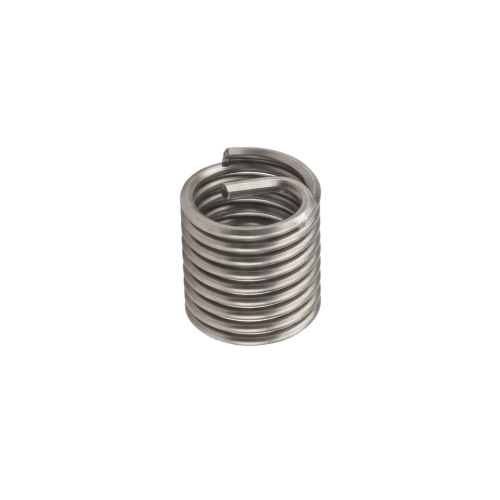 |
|
1. Drill bit |
2. Twinsert Tap | 3. Installation Tool (Outer) | 4. Tang Break-off Tool | 5. HeliCoil Twinsert (Outer) |
|
|
|
||
| 6. Installation Tool (Inner) | 7. HeliCoil Twinsert (Inner) | 8. Tang Break-off Tool |
Section D: HeliCoil Twinsert Thread Insert Repair Process
The process of HeliCoil Twinsert installation involves 6 major steps. They are listed chronologically below.
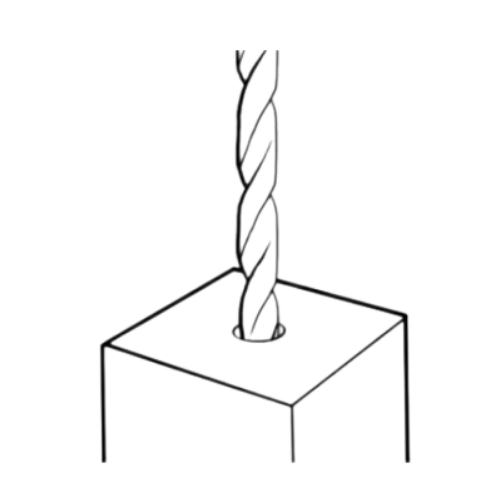 |
Drill
The main purpose of drilling is to enlarge the hole. Drilling is also used to clear out damaged threads (if necessary). |
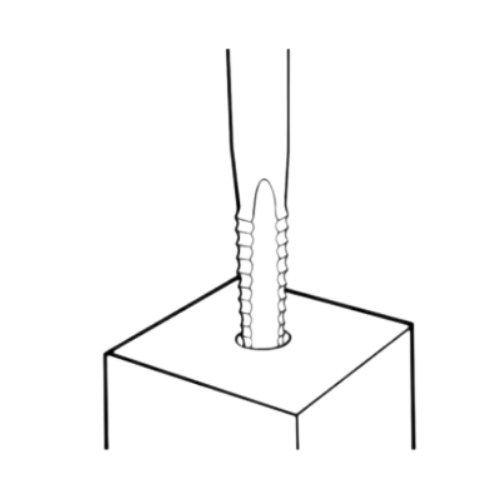 |
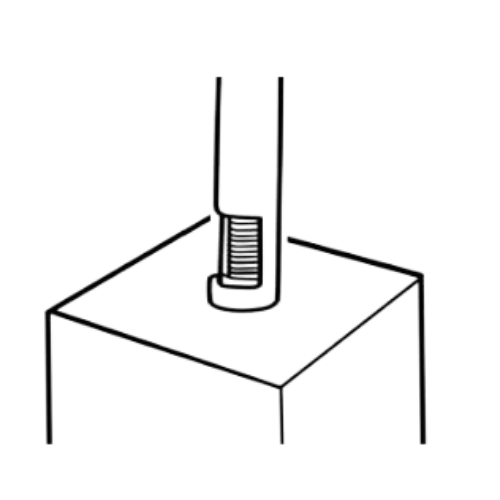
Tap
Re-tap the hole using the a Twinsert Bottoming tap. |
 |
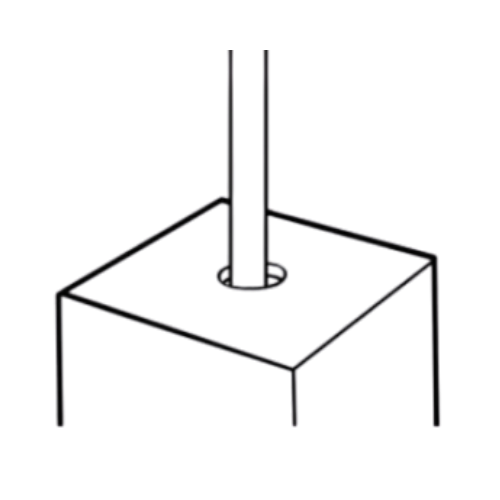
Installation of Twinsert Outer
With collar flush to the insert, turn the HeliCoil Twinsert Outer using the inserting tool with light downward pressure until the insert is 1/2 to 1 coil below the surface, driving the tang towards the bottom of the hole. |
 |
Tang Removal
Using a Twinsert Outer tang break-off tool, place the tang break-off tool inside and give it a light tap with a hammer to break the tang off. Note: for larger sized inserts, use long nose pliers to break the tang off. |
|
Installation of Twinsert Inner
Repeating the process of installation, this time with a Twinsert Inner, turn using a standard inserting tool with light downward pressure until the end of the last coil is flush with the Twinsert Outer. See next box for illustration. |
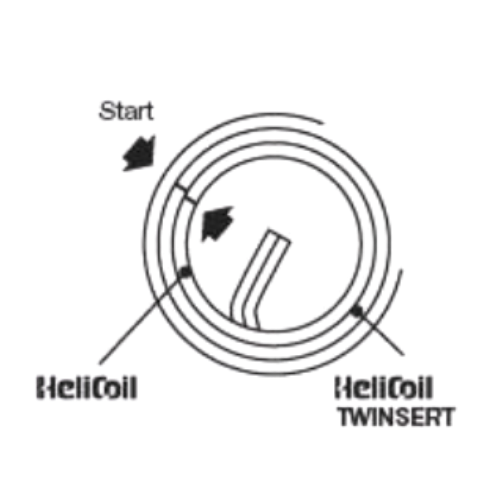 |
Installation Result
Look at the starting point, and ensure both Twinsert Inner and Outer are flush. |
|
Tang Removal
Using a standard tang break-off tool, place the tang break-off tool inside and give it a light tap with a hammer to break the tang off. Note: for larger sized inserts, use long nose pliers to break the tang off. |
Troubleshooting
In the course of using helical inserts, there are some important points we need to take note of to ensure smooth installation. Below, we list some common mistakes that occur and the steps to take in order to prevent them.
- When tapping, the tap breaks.
Corrective action: Check that the hole is drilled to the correct diameter. Do not use drill bits that are worn as they may be undersized*. Also, always use tapping oil or lubricant when tapping.
*Just because a drill or tap is printed with a certain size, does not mean that the size will always be what is indicated (unless they are new). It is always critical to verify used drill bits and taps. For a rough reference, drill bits and taps will always wear considerably after usage for approximately 200 holes.
- While installing, the insert is not able to enter the threaded hole.
Corrective action: Make sure that the hole is drilled and tapped to the correct diameter* and tolerance. Use a Twinsert Thread Plug Gauge gauge if possible. For all HeliCoil Twinserts, whether Free Running or Screw Lock, it is important to use prewinder-type tools.
*Interchangeability is important. Make sure the brand of inserts used corresponds to the tap. Generic taps made by tap manufacturers who do not produce helical inserts may not match.
- After installation, the coil does not sit properly on the tapped hole, and one (or more) of the threads “jumps”. As a result, the screw may not be fastened into the threaded hole.
Corrective action: Check that the hole is tapped properly, and that while installing, do not press down on the inserting tool. Use horizontal action to install the helical insert. For a more secure and smooth installation, use prewinder-type installation tools.
- When breaking the tang off, it does not break fully, but is bent at an angle.
Corrective action: Check to make sure that the hole is deep enough for the tang to be completely broken off (there should enough space for the tang to bend 90⁰).
Frequently Asked Questions (FAQ)
- The insert, in its free state, does not fit ‘snuggly’ into the screw, but is bigger than the screw. Is this normal?
Answer: Yes, this is normal. The helical insert in its free state is always ‘oversized’, compared to the threaded hole. This is so that after installation, the insert is able to exert radial pressure and lodge itself against the work piece.
- After the insert is installed, I checked the hole using a standard thread plug gauge. However, the No-Go side enters freely while sometimes, the Go side does not enter at all. Is this normal?
Answer: Yes, this is normal. Because the helical insert is made with a rhombus cross-section, this may differ from the angle of the standard gauge. Therefore, it is not necessary, and in fact, wrong to check the hole with a helical insert with a standard gauge. For checking, use a STI gauge before installing the threaded insert.
- Theoretically, after the Twinsert Outer has been installed, the hole should now be returned to a standard HeliCoil tapped hole dimension. Is this correct?
No. Twinsert holes installed with a Twinsert Outer have unique dimensions that are only compatible with Twinsert Inner.
- I installed a standard HeliCoil insert into a hole that has a Twinsert Outer pre-installed. The standard HeliCoil insert is longer than the Twinsert Outer. Why is this so?
Twinsert Inner have different diameter and lengths compared to standard inserts. Their lengths are made to be shorter than standard inserts to accommodate Twinsert usage.


10 Ubi Crescent #01-80 Lobby E, 408564, Singapore

(65) 6743 4155

(65) 6743 4155

sales@thorintl.com

Mon - Fri: 9am - 5pm
Sat - Sun: Closed


MRT
Take the appropriate MRT line to the nearest station, then continue your journey by bus, walking, or a taxi/ride-hailing service.


Bus
Check the bus services near the company’s location, board the relevant bus, alight at the nearest stop, and walk a short distance to the office.